http://cyberblogue.com/qnap-no-space-left-and-inaccessible I’m six years old and I have just taken a gargantuan bite of a frosting encrusted slice of purple-winged-roller-skate shaped cake. I’ve chosen to have my birthday party at the skating rink this year, and after soaring deftly around the rink for lap after lap to the sounds of Baby Got Back, Achy Breaky Heart, My Lovin’ – You’re Never Gonna Get It, and the like (it’s 1992, after all) that bite of cake is pure heaven.
And do you know what made that memory inducing bite of cake the perfect pastry that it was? The buttercream frosting, of course! If you’re just tuning in you’re reading Part 2 – Buttercream Bonanza of my 3 post series, The Great Cake Experiment. Check out Part 1 – The Perfect White Cake and Part 3 – Layered, Not Stirred!
Let’s talk about the logistics of buttercream, shall we? Although a relatively simple recipe (it’s pretty much just butter and sugar), buttercream can be finicky. An imbalance in the ratio of butter to confectioners sugar or slight variation in temperature can mean the difference between a runny, sticky mess or a cement-like substance more suited to caulking bath tubs that frosting a cake. Hitting the consistency sweet spot (heh!) can be tough, but I’ve learned a few tricks during my testing.
Sugar to Butter Ratio
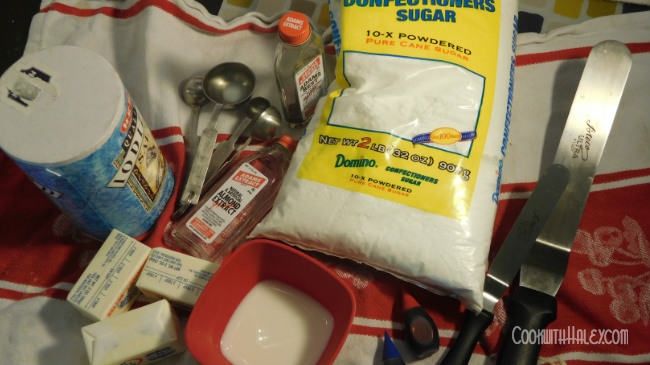
Two sticks of room temperature butter to four cups of confectioners sugar (sifted after measuring) translates to the perfect middle of the road frosting. One that is not so runny that it refuses to stand up to its own weight pooling into globs instead of lovely rosettes, nor so stiff that it simply cannot be spread or piped.
I also tested smaller batches of buttercream for my accent colors using just one stick of butter (1/2 cup) to two cups of confectioner’s sugar. The ratio stood up to the test yielding a perfectly pipe-able frosting.
What IS Room Temperature…Exactly?
The temperature of the room or entire house for that matter is an important factor when it comes to buttercream consistency, y’all. I live in Texas where 100 degree days are common place. Some days room temperature means 78-80 degrees even with the air conditioner on full blast during midday heat.
In a climate that forces me to avoid turning on the oven in the Summer (and sometimes Spring and Fall) I have learned to bake my cakes ahead of time so that the oven is not hot while I’m working with buttercream. Fortunately, white cake can be baked, wrapped in plastic wrap, and refrigerated for up to seven days.
I also try to avoid working with buttercream during the midday heat and stick to working in the mornings and evenings.
However, there are times when the heat is unavoidable. If you notice your buttercream is changing from a semi-solid to a liquid in your piping bag, don’t panic! Stop what you’re doing and put the whole bag in the refrigerator for 5-10 minutes. Check the bag often to be sure the buttercream does not turn to stone.
No Alarms and No Surprises
When I’m working on a project I prefer to set myself up for success as much as possible. Sometimes that means trying and failing…a lot…to figure out the best workflow for me. While that idea can be applied to just about anything, when it comes to cooking I realized a long time ago that preparing the pieces of a dish ahead of time and assembling them the right moment removes so much of the panic, nail biting, and hair pulling that comes with being unprepared. Buttercream is no different.
I already mentioned that I prefer to bake my cake ahead of time and refrigerate them. I also prefer to make batches of buttercream ahead of time and refrigerate them. A batch of uncolored buttercream (recipe to follow) can be chilled in air tight containers or bags for up to two weeks, brought back to room temperature 30 minutes before hand, and rewhipped before piping. Color can be added when rewhipping.
Becoming comfortable with the action of piping buttercream is very much a matter of repetition and muscle memory. To remove even more stress and build my confidence I practice by piping rosettes and other shapes with plain unsalted butter that I plan to use for toast and cooking. Not only do I get to practice without baking a whole cake, but I also end up with cute little butter rosettes (awe).
Let two sticks of butter come to room temperature and whip in a stand mixer on high for 3-7 minutes. Transfer it to a piping bag with your desired piping tip and pipe rosettes onto a parchment lined sheet pan. Place the sheet pan in the freezer. After 30 minutes transfer the rosettes to air tight containers or bags and refrigerate until you want to use them. These are really special to serve with rolls at dinner parties or with breakfast when you have guests visiting!
Get To The Good Part
I have imparted to you all of my tips on making, using, and storing buttercream successfully. Without further ado, here is my recipe for Whipped Buttercream. For an 8 Inch round Perfect White Cake make two batches of buttercream in two different colors (if you like).
Enjoy!
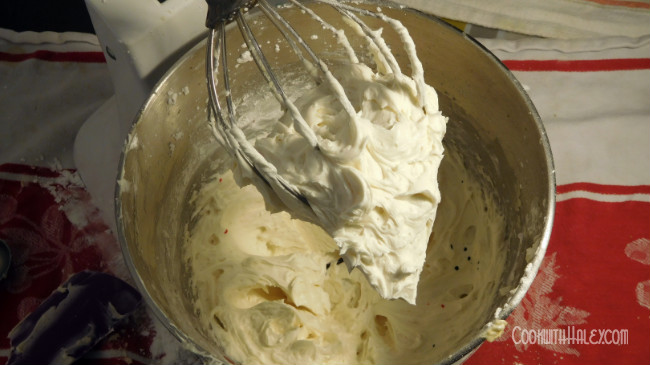
Whipped Buttercream Frosting
- 1 cup (2 sticks) room temperature butter, cubed
- 2 teaspoons Vanilla Extract
- 1/2 teaspoon Almond Extract
- pinch salt
- 4 cups confectioners’ sugar, sifted
- 2 tablespoons 2% milk
- McCormick® Food Color
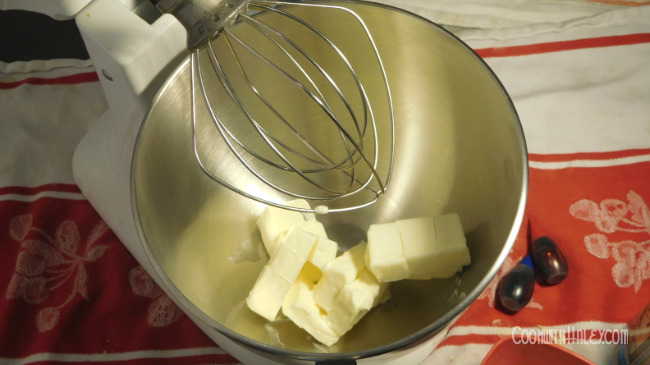
- In a stand mixer with the whip attachment, whip the butter on medium-high speed for about 2 minutes, until light and fluffy.
- Stop the mixer, scrape down the sides and bottom of the bowl with a rubber spatula, and add Add vanilla extract, almond extract, and salt. Whip on medium-high for an additional minute to incorporate.
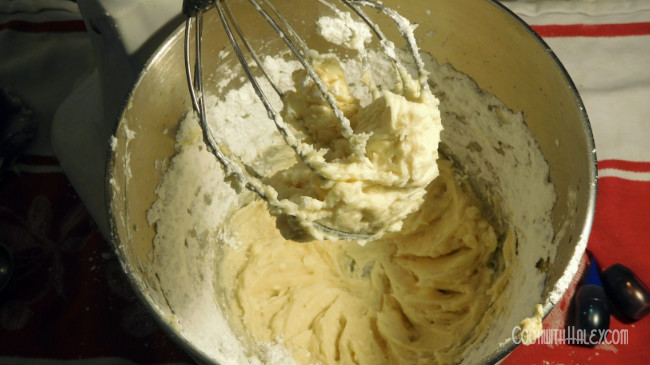
- Stop the mixer and add in half of the confectioners’ sugar and about 1 tablespoon milk. Whisk on low until most of the sugar is moistened and incorporated, about 1 minute. Stop the mixer, scrape sides and bottom of bowl, then add remaining confectioners’ sugar and remaining tablespoon of milk. Mix on low until incorporated.
- Stop the mixer, scrape down the sides and bottom of the bowl with a rubber spatula and then add food coloring (See McCormick’s handy color guide for ideas).
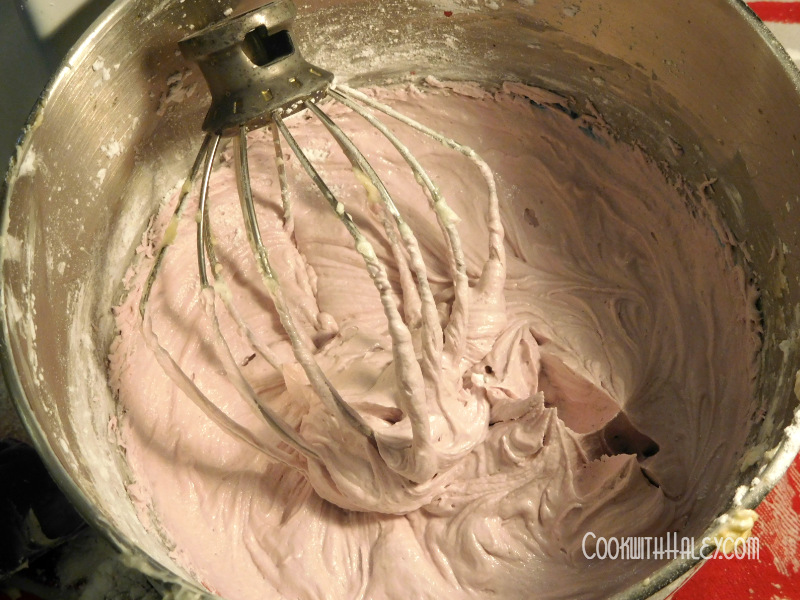
- Once incorporated, whip frosting for an additional 7 minutes on medium high to high, stopping half way through to scrape down the sides and bottom of the bowl.
- If frosting is too thick to spread, gradually whisk in additional milk.
- Store in refrigerator up to 2 weeks. Rewhip before using.
