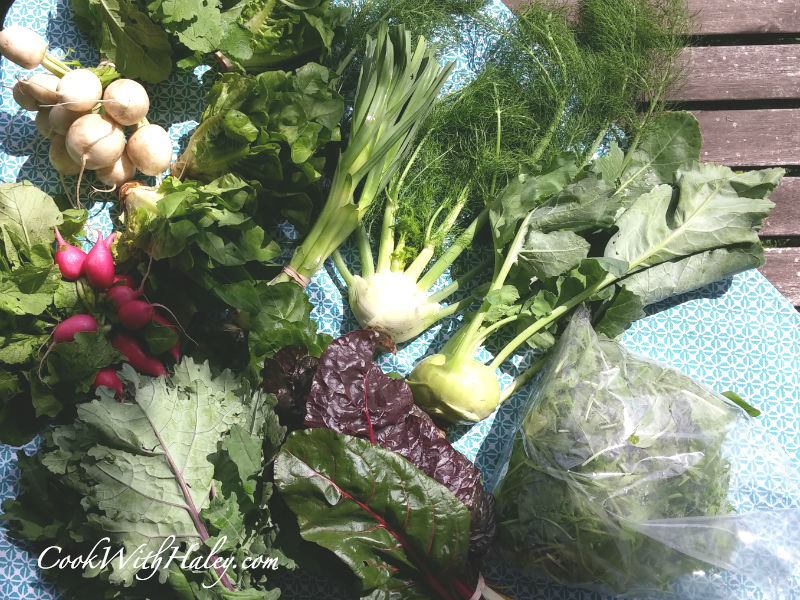
You signed up for a weekly CSA share and you had every intention of eating all of that beautiful, juicy, organically grown produce each week. Sadly, you’ve found that you just can’t eat it all fast enough and you’re forced to throw out produce that has gone bad, not only wasting money, but also (quite literally) the fruits of someone’s hard labor (a labor of love, btw). Hey, we all get busy, right? Don’t guilt and shame yourself over lost produce! Instead, try these tips for washing and storing your produce to help extend the life of all that deliciousness.
Looking to join a great Community Supported Agriculture (CSA) group in the Austin, Texas area? Green Gate Farms is a local fixture and a wonderful partner in creating a sustainable local food system. Sign up on their CSA page!

1. Remove Packaging and Rubber bands
Take your produce out of the bags it came in and cut off any rubber bands or twist ties. Removing the packaging will help you clean your produce more thoroughly and store it.
Take care not to damage delicate leaves and stems when removing the packaging. Remember to keep any bags that can be reused.
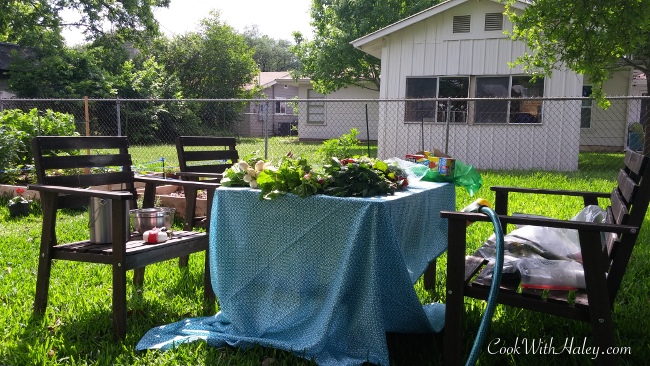
2. Rinse Thoroughly
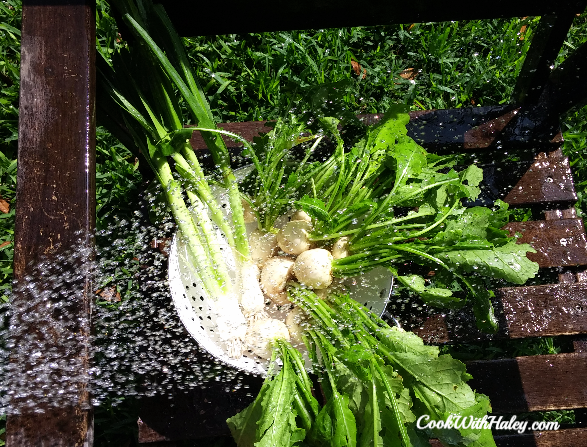
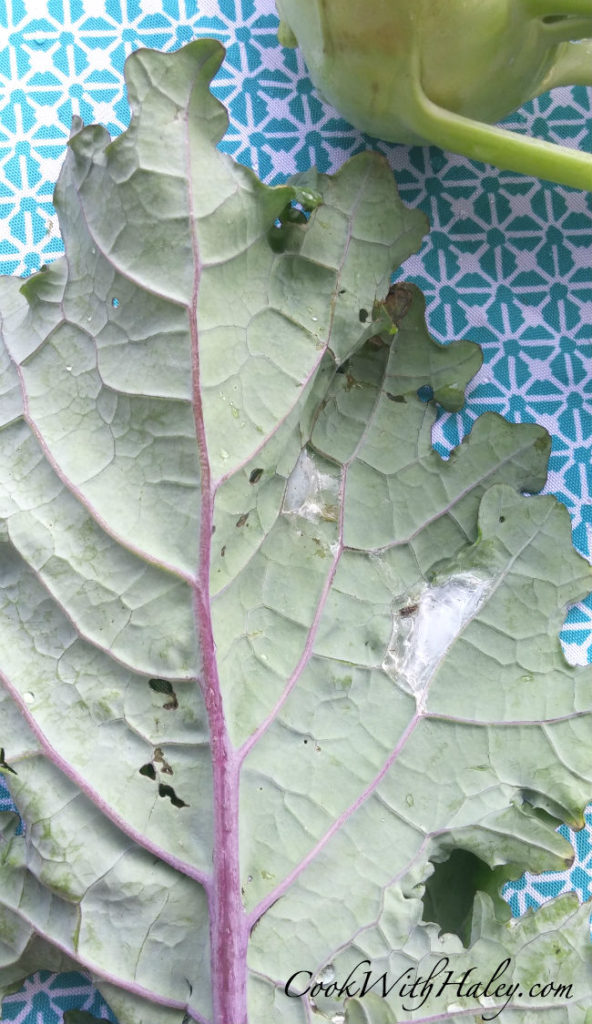
After removing all the packaging and rubber bands examine your produce well. The farm manager will have done his or her best to clean and rinse, but you never know what could have hung around on your produce.
Rinse with cool water over a large colander. I like to rinse my produce outside on sunny days for no other reason than I like being outside. Take care to rinse the edible leaves and greens of root vegetables.
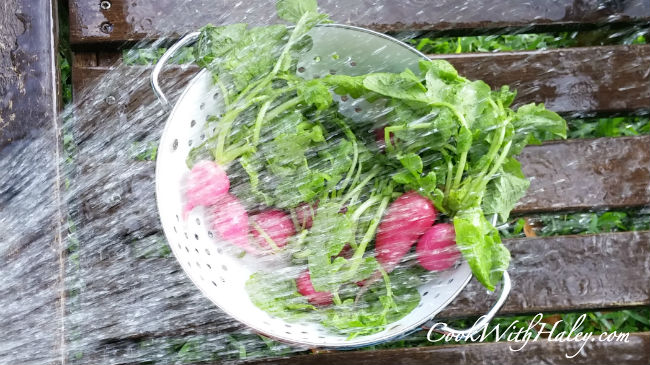
The edible parts of root vegetables which actually grow in the in the grown, can hold onto a lot of dirt. Be sure to rinse our cracks and crevasses very thoroughly. In some cases you may want to submerge vegetables like fennel and leeks in a large bowl or basin of cool water so that the dirt and grit can fall out and sink to the bottom.
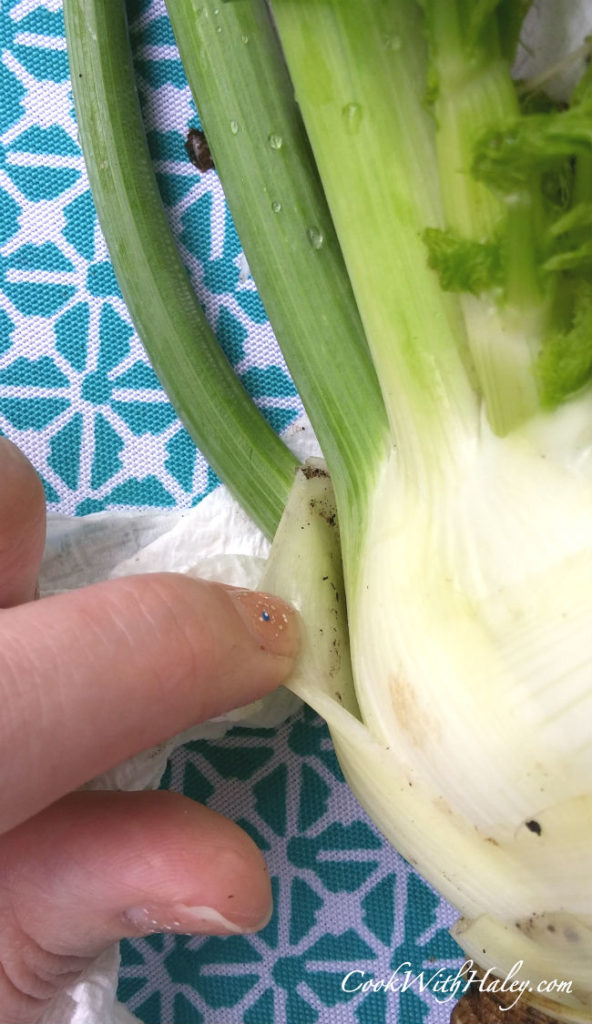
3. Trim Spoiled Pieces
Your produce is most certainly going to be fresh when you get your CSA box, but there could be a few dark spots or edges on leaves. Trim these off or pick them out early so they don’t spoil the whole bunch more quickly.
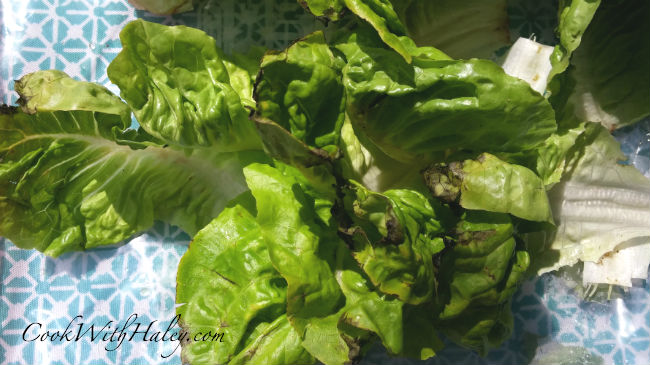
Did you end up with a repeat vegetable, but still have some left from the previous week? For goodness sake, don’t throw out the old stuff just because it has a few wilted leaves or dark spots! Take everything you already have out of the containers and bags to examine with your new inventory. Trim off or pick out wilted leaves or cull out root vegetables that have gotten soft. For storage, package existing produce with similar types of products in your new CSA share.
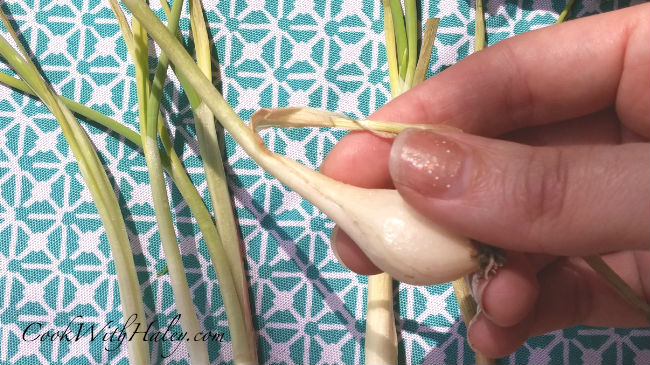
If you’re planning to cook some of it the same day, you may just need to cut out dark spots or eyes from potatoes. Remember, nobody likes food waste, so try not to throw things out unless they are not salvageable.
4. Wrap with Paper towels
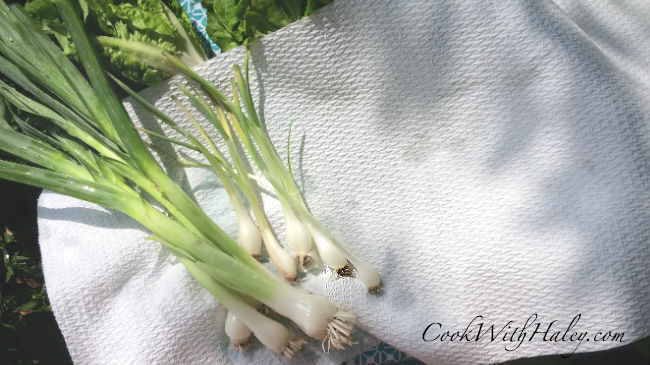
After rinsing wrap your produce in paper towels. Allow the paper towels to absorb some of the moisture on the vegetables. This moisture will keep the veg from drying out in the refrigerator.
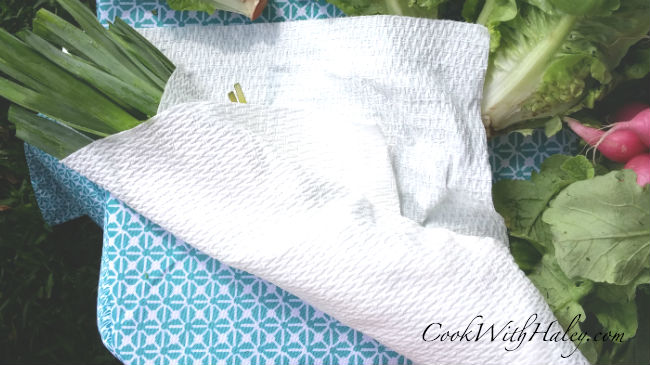
5. Don’t Seal Completely
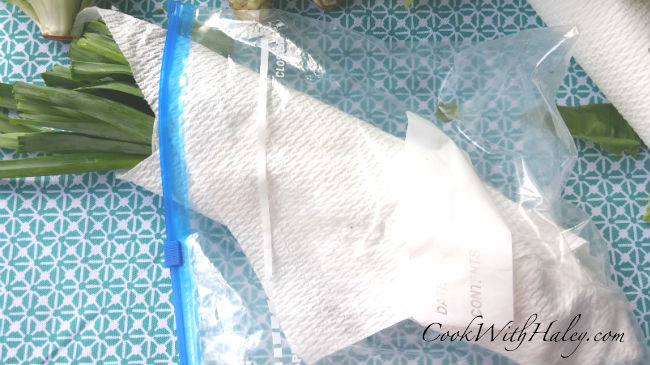
Store wrapped produce in plastic bags keeping the bags only partially sealed to allow excess gases to escape. Produce starts to turn mushy and slimy much faster when gases it releases are trapped in it’s container.
Line plastic bags with paper towels for small pieces like turnips, radishes, strawberries, or mushrooms and leave completely unsealed. If possible store mushrooms in a small paper bag (ex. lunch bag).
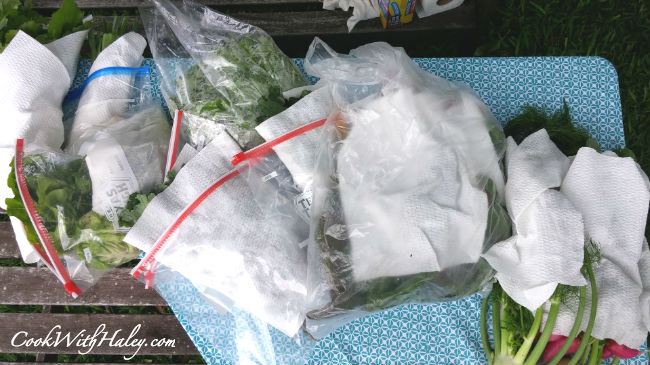
Pro tip: save those thin plastic produce bags from the grocery store, especially the extra large ones. After you’ve used up their contents turn them inside out to air dry for a while. You can do the same to reuse zip lock bags as well. This will not only help out the environment, it will also save you some cash!
6. First In First Out
First in first out (a.k.a FIFO) is a restaurant industry practice. It means use the older products first. If it went in first it goes out first. This practice reduces the possibility of food spoilage and food waste. When you combine any produce that you already had with new inventory put the existing stuff on top so that will be grabbed first.
7. Use Your Fridge Wisely
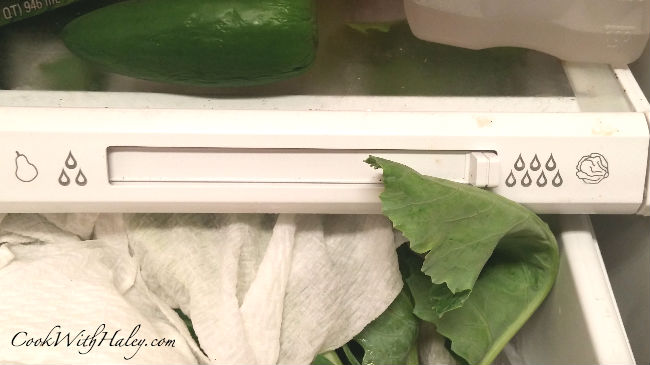
The crisper drawers on your refrigerator are designed to store fruits and vegetables in the best atmosphere for them. Most crisper drawers allow you to adjust the level of air ventilation by opening or closing small vents depending on the amount of circulation needed for the produce. Less ventilation for vegetables and greens; more ventilation for fruits. Take advantage of these special features of your refrigerator.
Pro tip: Don’t over stuff your crisper drawers. At some point those little vents are maxed to the capacity they can accommodate. Condensation collecting on the inside of your drawer is a good indicator that it is over full. If this happens you can keep some produce outside of the drawers well wrapped and sealed on the bottom shelf of the refrigerator. Fully transparency, I am not the best at practicing this principle, but, hey, it’s progress, not perfection, right?
8. Consider Preserving
If you have a large abundance consider pickling or preserving your produce. Another option is to freeze vegetables, herbs, and greens with high water content (tomatoes, peppers, onions, spinach, basil, etc.) to use in dishes later. Herb and vegetable butter compounds can also preserve produce to add flavor to dishes.
We have an abundance this year in our garden, so you can expect to see a post on pickling in the near future!
All produce pictured in this post was provided by Green Gate Farms in Austin, Texas. Visit Green Gate’s CSA page to sign up for a weekly CSA share.
